
Pumpkin Pie

I must admit that the one thing I’ve been able to get fully onboard with America on is their love of food.
Yes, it may be ridiculously big, over the top and usually unnecessarily so but you have to hand it to them, it’s usually also ridiculously delicious!
I tried Pumpkin Pie for the first time two years ago. I had zero interest in trying it and thought pumpkin had zero place in a pie or any dessert. It’s rare for me to admit, this could actually be a first for me, but I was wrong. Pumpkin Pie is amazing and I completely understand why people obsess over it for two whole seasons!
I obviously had to get to the bottom of this crazy pie and did my research. Pumpkin Pie was served at the first thanksgiving in America. Fifty years prior, Native Americans gave the first settlers pumpkins as gifts, teaching them many uses for them.
Pumpkin Pie or something like it can be traced back as early as 1621. In the 1670’s recipes for “pumpkin pie” started showing up in English cookbooks and included spices such as cinnamon, nutmeg and cloves, sound familiar?
In 1976 the first American cookbook written and published in the US, American Cookery, by Amelia Simmons, had a recipe for pumpkin puddings baked in a crust that are super similar to what we call pumpkin pie today.
Her recipe called for seedless, stewed and strained pumpkin, two quarts of scalded milk, 8 eggs (so many eggs!!), sugar or molasses and ginger, cinnamon or grated lemon peel, to taste and all with a bottom crust.
Apart from the egg count I could get on board with this recipe but she also suggests that finely grounded crackers would be a good egg substitute…. I can’t see it myself but as I like to say, when it comes to baking it’s all about personal preference.
As someone who isn’t American whatsoever I wanted to make sure my recipe wasn’t too off path. So with notes from Ms. Simmons and the general consensus that a pie crust with a custard like pumpkin filling should suffice, and my own personal preferences thrown in, this is my version of Pumpkin Pie.
Before we start, I know the idea of homemade pastry and/or homemade pies seems long and daunting but my best advice would be take it one step at a time, have everything layed out and weighed out before you begin. For instance, I always make my pie the day before I need it and I make my pastry the day before that. Resting time is one of the most important parts to most pies, definitely pumpkin pie, so doing a little in advance will go a long way to the end result and definitely to your sanity! You got this!
I hope you enjoy my recipe and Happy Thanksgiving!
Bácáil Sona!! 👩🏻🍳

PUMPKIN PIE
recipe
⏲ PREP TIME: 45 minutes
⏲ BAKING TIME: 1 hour 20 minutes
⏲ RESTING TIME: 3 - 12 hours
🥧 SERVINGS: 12 slices
EQUIPMENT
mixing bowls
weighing scale
rolling pin
grater
pie dish
cold butter knife
heavy bottomed saucepan
INGREDIENTS
pie filling
15oz/ 425g pumpkin puree
160g dark brown sugar
40g light brown sugar
40g granulated sugar
20g pumpkin pie spice (cinnamon, ginger, nutmeg + allspice)
Pinch/ 1/2-1g ground black pepper (I got this from King Arthur baking and it makes a lovely addition, seems strange but you just gotta trust it!!)
1/2 tsp/ 2.5g cinnamon
3 eggs
1 egg yolk
240ml/ 1 cup heavy cream
60ml 2% milk (1% or whole milk works too!)
Shortcrust Pastry
225g all purpose flour
56g/ 4 tbsp salted butter (I always keep butter in the freezer for pie days!)
56g/ 4 tbsp vegetable shortening (straight from the fridge!)
8g granulated sugar
50ml ice cold water
INSTRUCTIONS
Pie Pastry
1.
Lightly grease your pie tin with cold butter.
2.
Sieve your flour and sugar into a large bowl. Grate your salted butter (straight from the freezer), and chop your vegetable shortening (straight from the fridge) in small cubes, directly into the bowl.
3.
Using a cold butter knife combine your mixture until all the butter is coated in flour.
4.
One tablespoon at a time, add your ice cold water to the bowl and mix with your knife until everything has come together.
Use just enough water to get the mixture to stick together. 50mls is usually perfect for me, try not to over do it.
5.
Using your cold hands, roughly pull the dough together in a ball, throw onto a surface and shape into a disc.
This does not need to be perfect whatsoever. Handle the dough as little as possible and just make sure it comes together.
6.
Cover tightly with cling film, put into a zip lock bag and leave in the fridge for 30 minutes before rolling out.
It will keep in the fridge up to 2 days if you’re just doing prep work. I like to make it the night before if I know I’m making a pie the following day. Make sure to leave out for 10-20 minutes on the counter if you’ve left it in the fridge longer than 2 hours.
7.
Preheat your oven to 420°F, 220°C at least 30 minutes before you put your pie into the oven.
8.
When ready to use your pastry, lightly dust your countertop with flour and place your pastry disc on top.
9.
With your rolling pin flatten down your pastry and then roll it out nice and thin, rotating your pastry as you roll it out.
10.
Once you get a nice even layer, about 1/4 inch thick, place your pastry sheet over your pie dish and cut the excess from around the edge, leaving enough to fold a nice crust. Make sure to prod the pastry with a fork to help prevent puffing and keep an even layer.
11.
Once you’ve finished your edge place tin foil over your pastry and add baking beans, dried beans, pasta or rice and bake blind for 20 minutes.
12.
After 15 minutes take out the tinfoil and weights you’re using and bake for another 10 minutes.
13.
While your pastry is baking you can make your filling.
Pumpkin Filling
1.
Turn your oven down to 350°F, 180°C once your pie is out. Low and slow is perfect for this pumpkin pie.
2.
Add your pumpkin puree (I use Libby’s), sugar, pepper and spices to a heavy bottom saucepan and heat on medium, mixing through with a whisk, until a bubble just starts. Set aside.

3.
Scald your milk and heavy cream. This just means to heat until it’s warm but not boiling. I heat mine in the microwave for about 90 seconds, that should be loads of time.
4.
Add about a 1/3 of your egg mixture and whisk vigorously! The goal is to not scramble your eggs here! You can then add the rest of your egg and whisk through.

5.
Add this to your pumpkin mix and stir it all together on low heat until just combined.

6.
Pour your mix directly into your baked pie crust until almost full and put into the oven for about 50-55 minutes.

7.
It should have puffed up about 2 inches and the top should look set but still be a little jiggly, it will continue to set while cooling in the pan so you don’t want to over bake it.

8.
You’ll most definitely have filling left over and I highly recommend making mini pies with left over pastry or just pouring them into cupcake cases and baking for 30 minutes once your main pie comes out of the oven.
9.
Once your pie has cooled to room temperature let it set in the fridge for at least 2 hours. I like to leave mine over night. The top should be perfectly even now and the filling set.
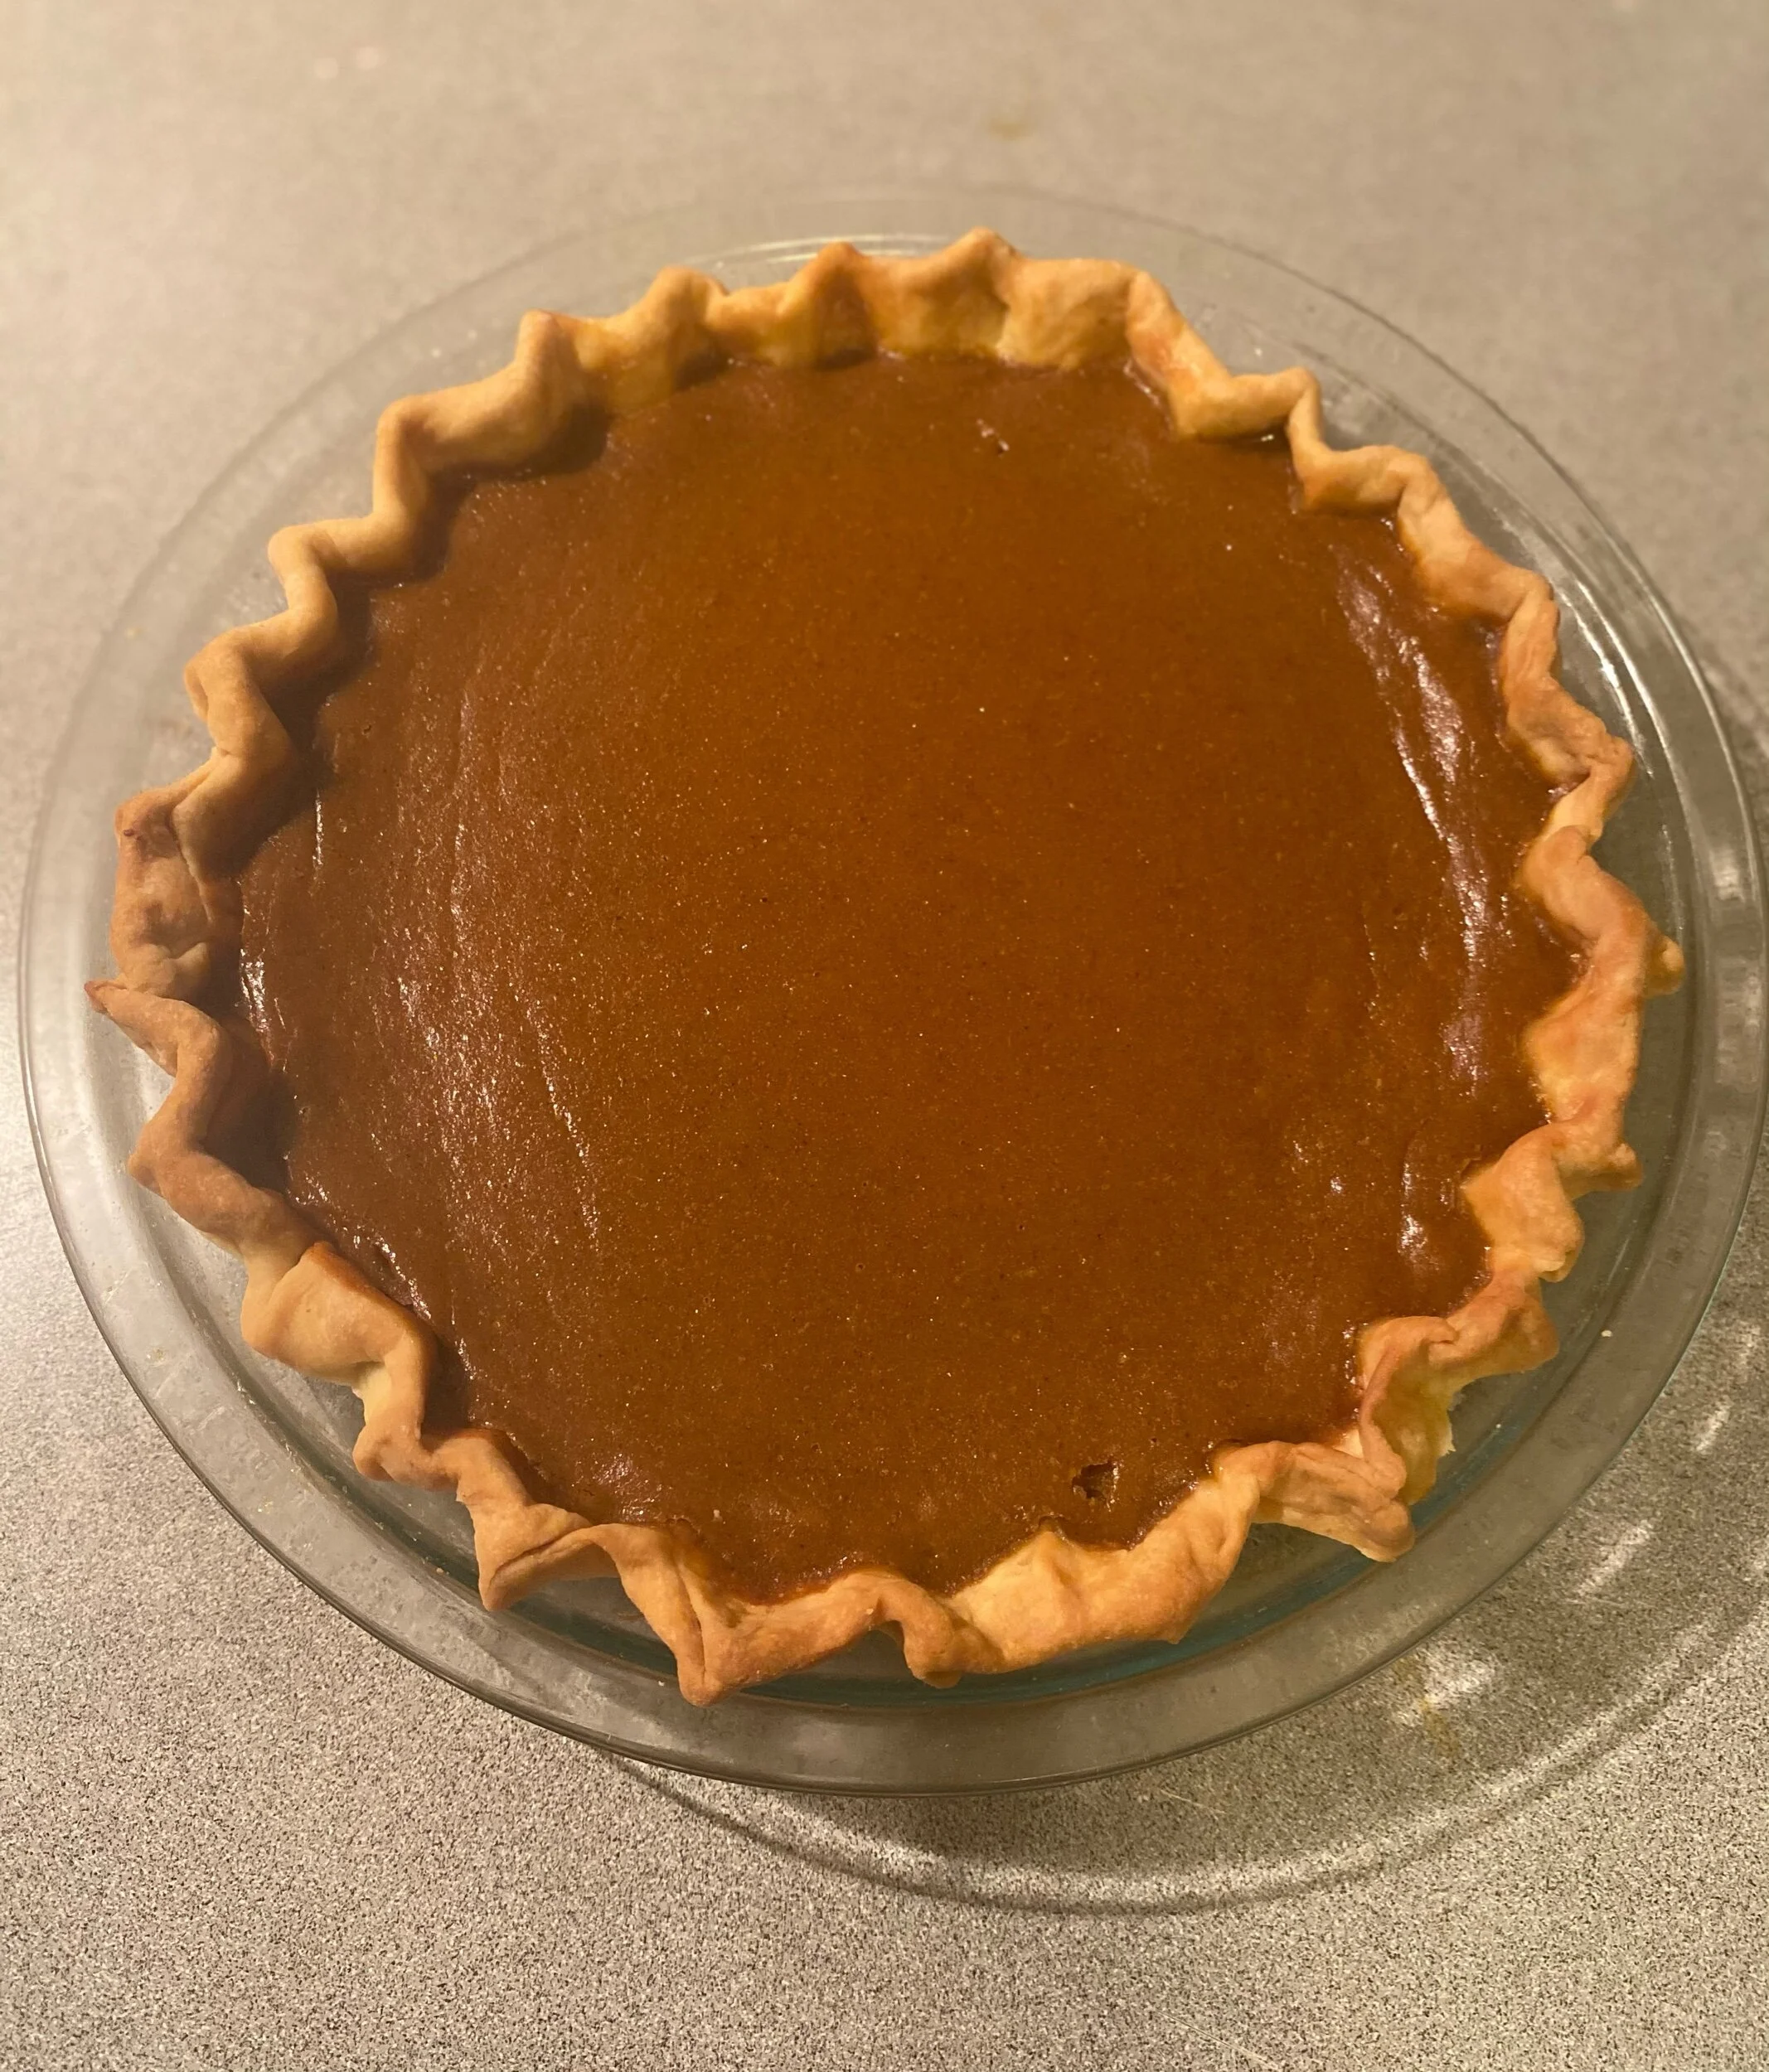
10.
Serve with fresh cream or on its own. If you used your extra pastry to make additional designs you can add them to the top now.

NOTES
Thank you to PippinsPies.com for most of my pumpkin pie history!