
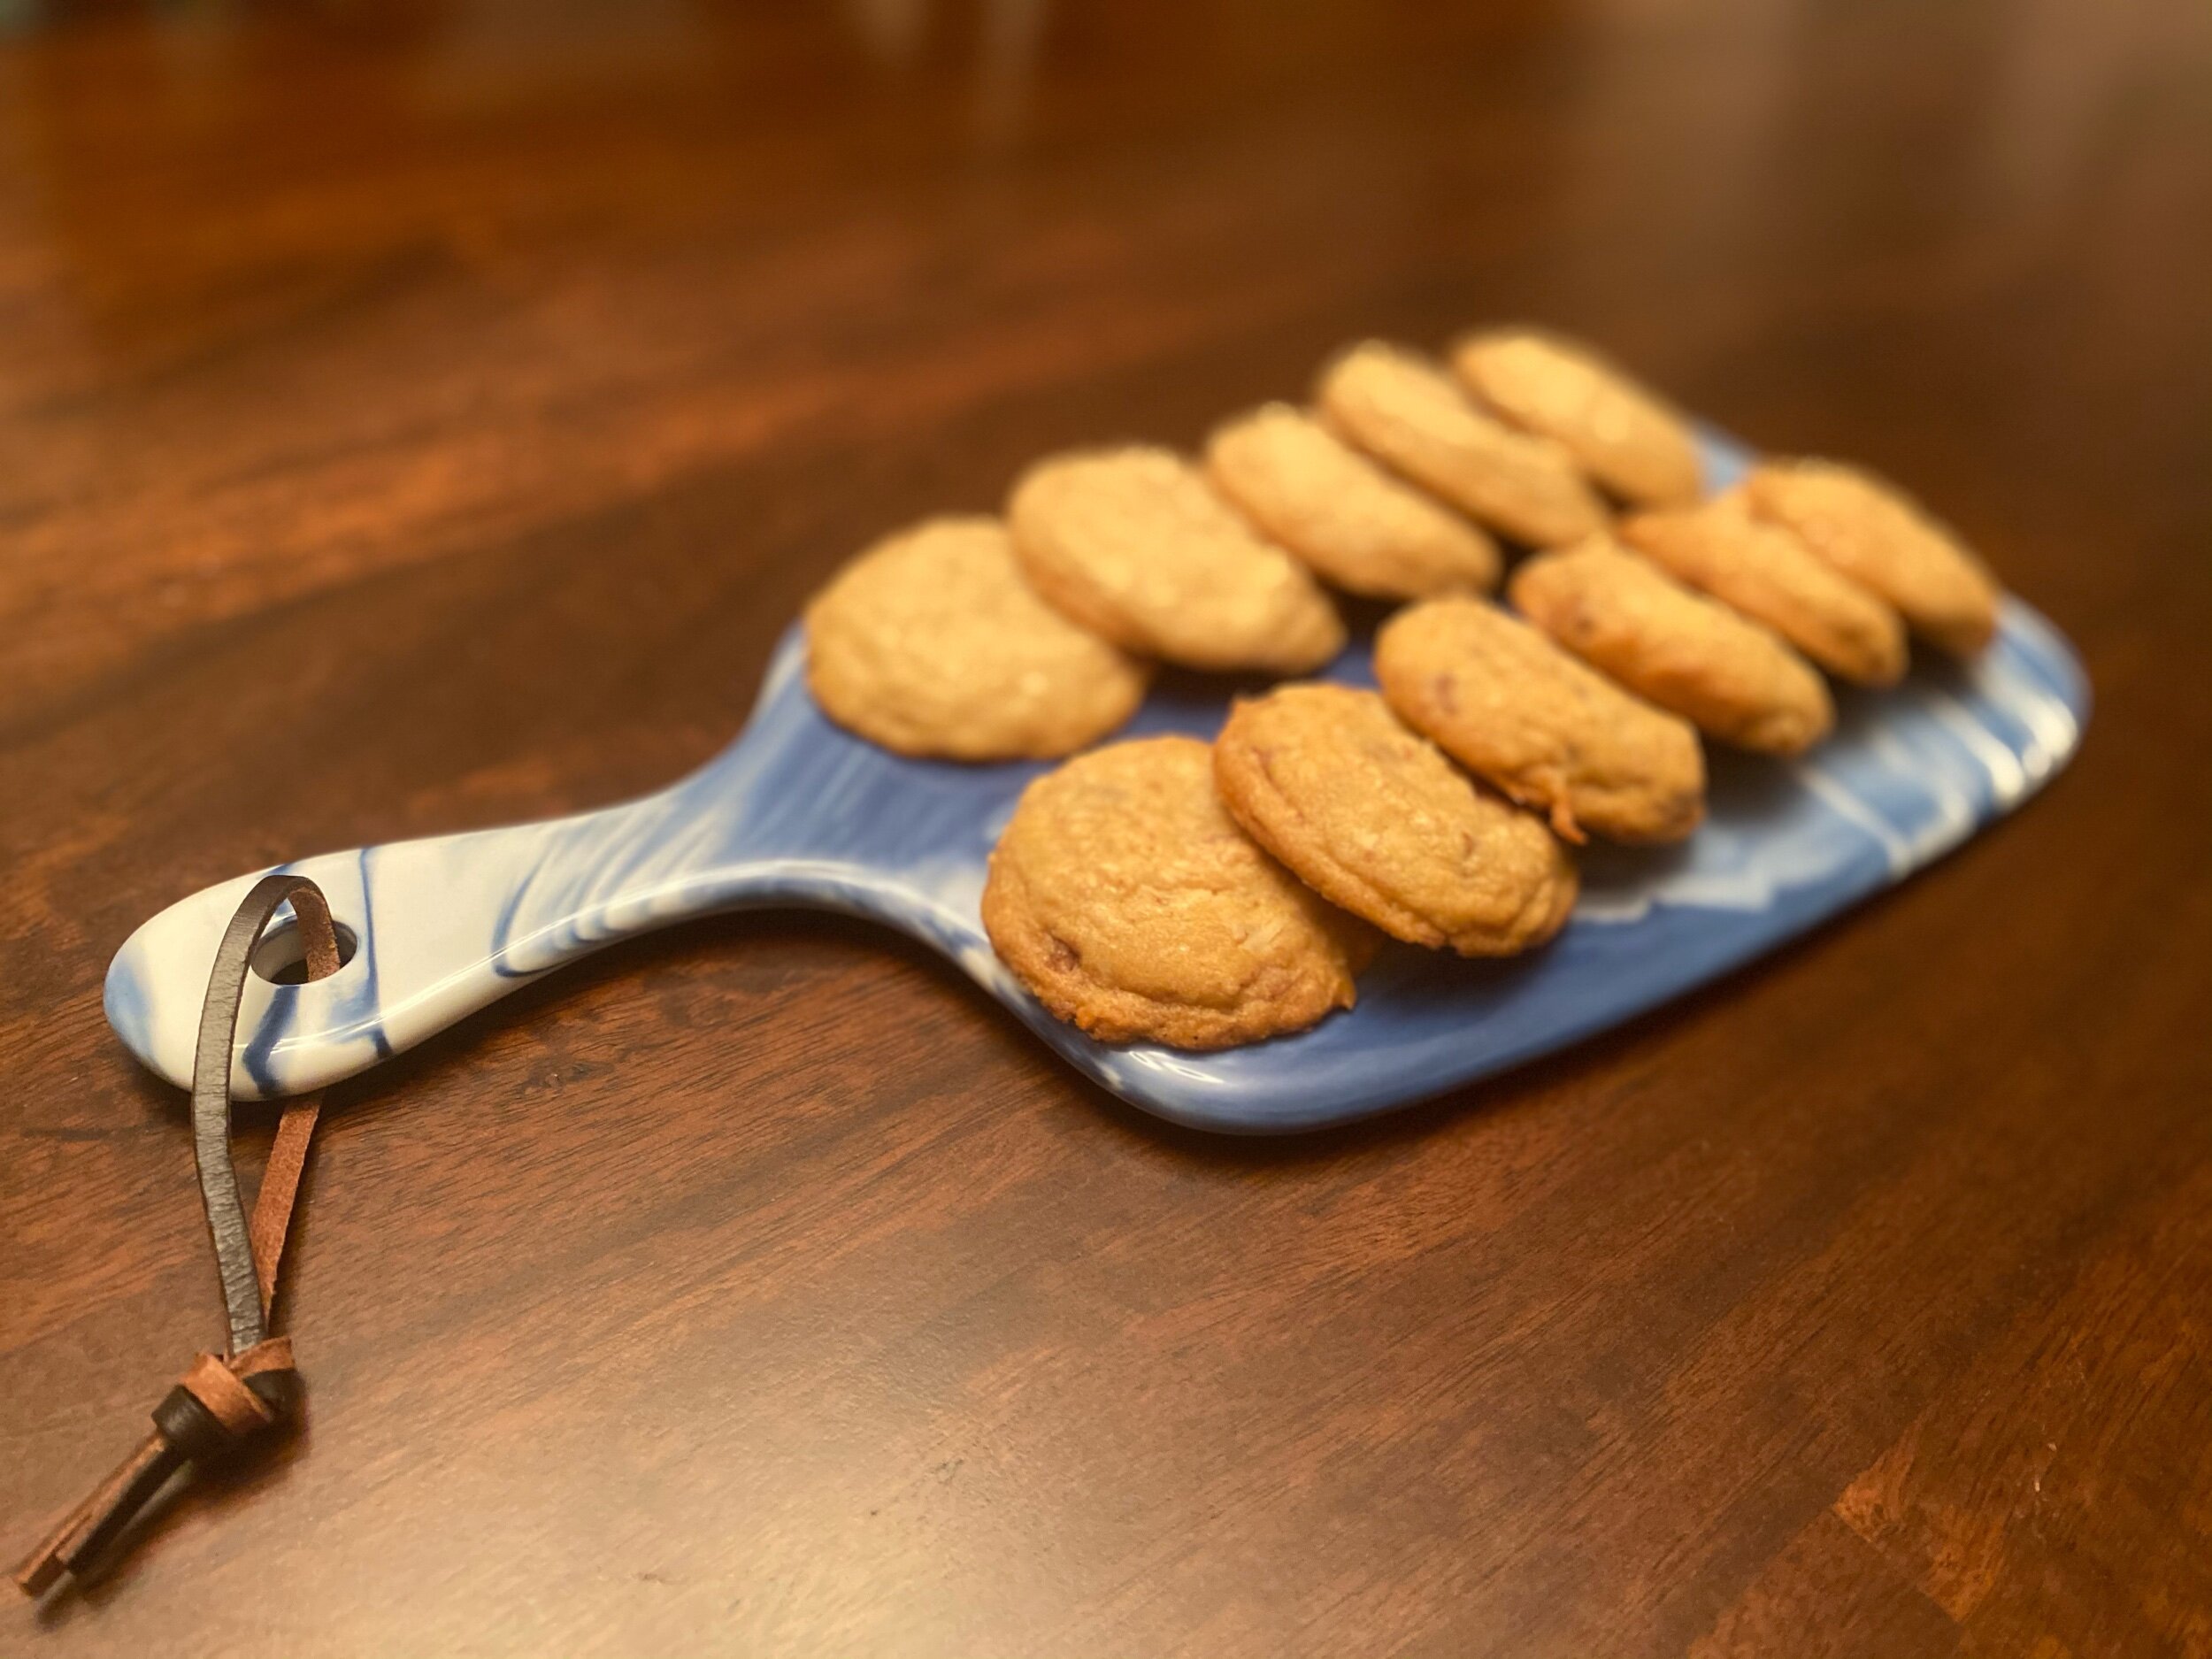
Coconut Cookies
*WARNING*
I am about to introduce you to the cookie version of a Pringle! It is a double edged sword treat, they’re light enough that it takes a lot to over indulge but they’re moreish enough that it’s hard to stop! Once you pop…
If a bounty bar could transform directly into a cookie this is what it would taste like, that’s what my aim was when making them anyway!
I wanted that coconut taste without it being overpowering and just enough chocolate to complement it. A chewy, soft center with a crisp, firm edge and that classic cookie structure.
After trying out different ingredient ratios, resting and baking times, I think this final recipe is as close to perfect as a cookie can be.
I hope you enjoy these cookies as much as me and mine did. Let me know if you have any questions or comments!
coconut cookies
recipe

Chewy coconut and chocolate cookies! This recipe makes a lot of cookies, it usually makes me about 54 regular sized ones. If you want a smaller batch you can half or even quarter the recipe. You could also make larger cookies, they’ll be delicious either way!
⏲ PREP TIME: 20 minutes
⏲ BAKING TIME: 12 minutes
⏲ RESTING TIME: 1 hour 50 minutes
🍪 SERVINGS: 54 cookies
EQUIPMENT
stand mixer/electric mixer
mixing bowl
spatula
measuring spoons
weighing scale
baking sheet
INGREDIENTS
360 grams all purpose flour
225 grams/ 2 sticks unsalted butter
2 eggs
5 grams/ 1 tsp baking soda
2.5 grams/ 1/2 tsp baking powder
150 grams caster sugar
110 grams light brown sugar
40 grams dark brown sugar
5 grams/ 1 tsp vanilla extract
5 grams/ 1 tsp coconut extract
150 grams shredded sweetened coconut flakes
82 grams/ 18 squares dairymilk milk chocolate (Dark chocolate is also delicious here, feel free to use your favourite! Personal preference is key to happy baking and eating!)
INSTRUCTIONS
1.
Preheat oven to 350 degrees fahrenheit, 180 degrees celcius.
2.
Cream room temperature butter in your stand mixer (or with mixer/whisk) for about one or two minutes.

3.
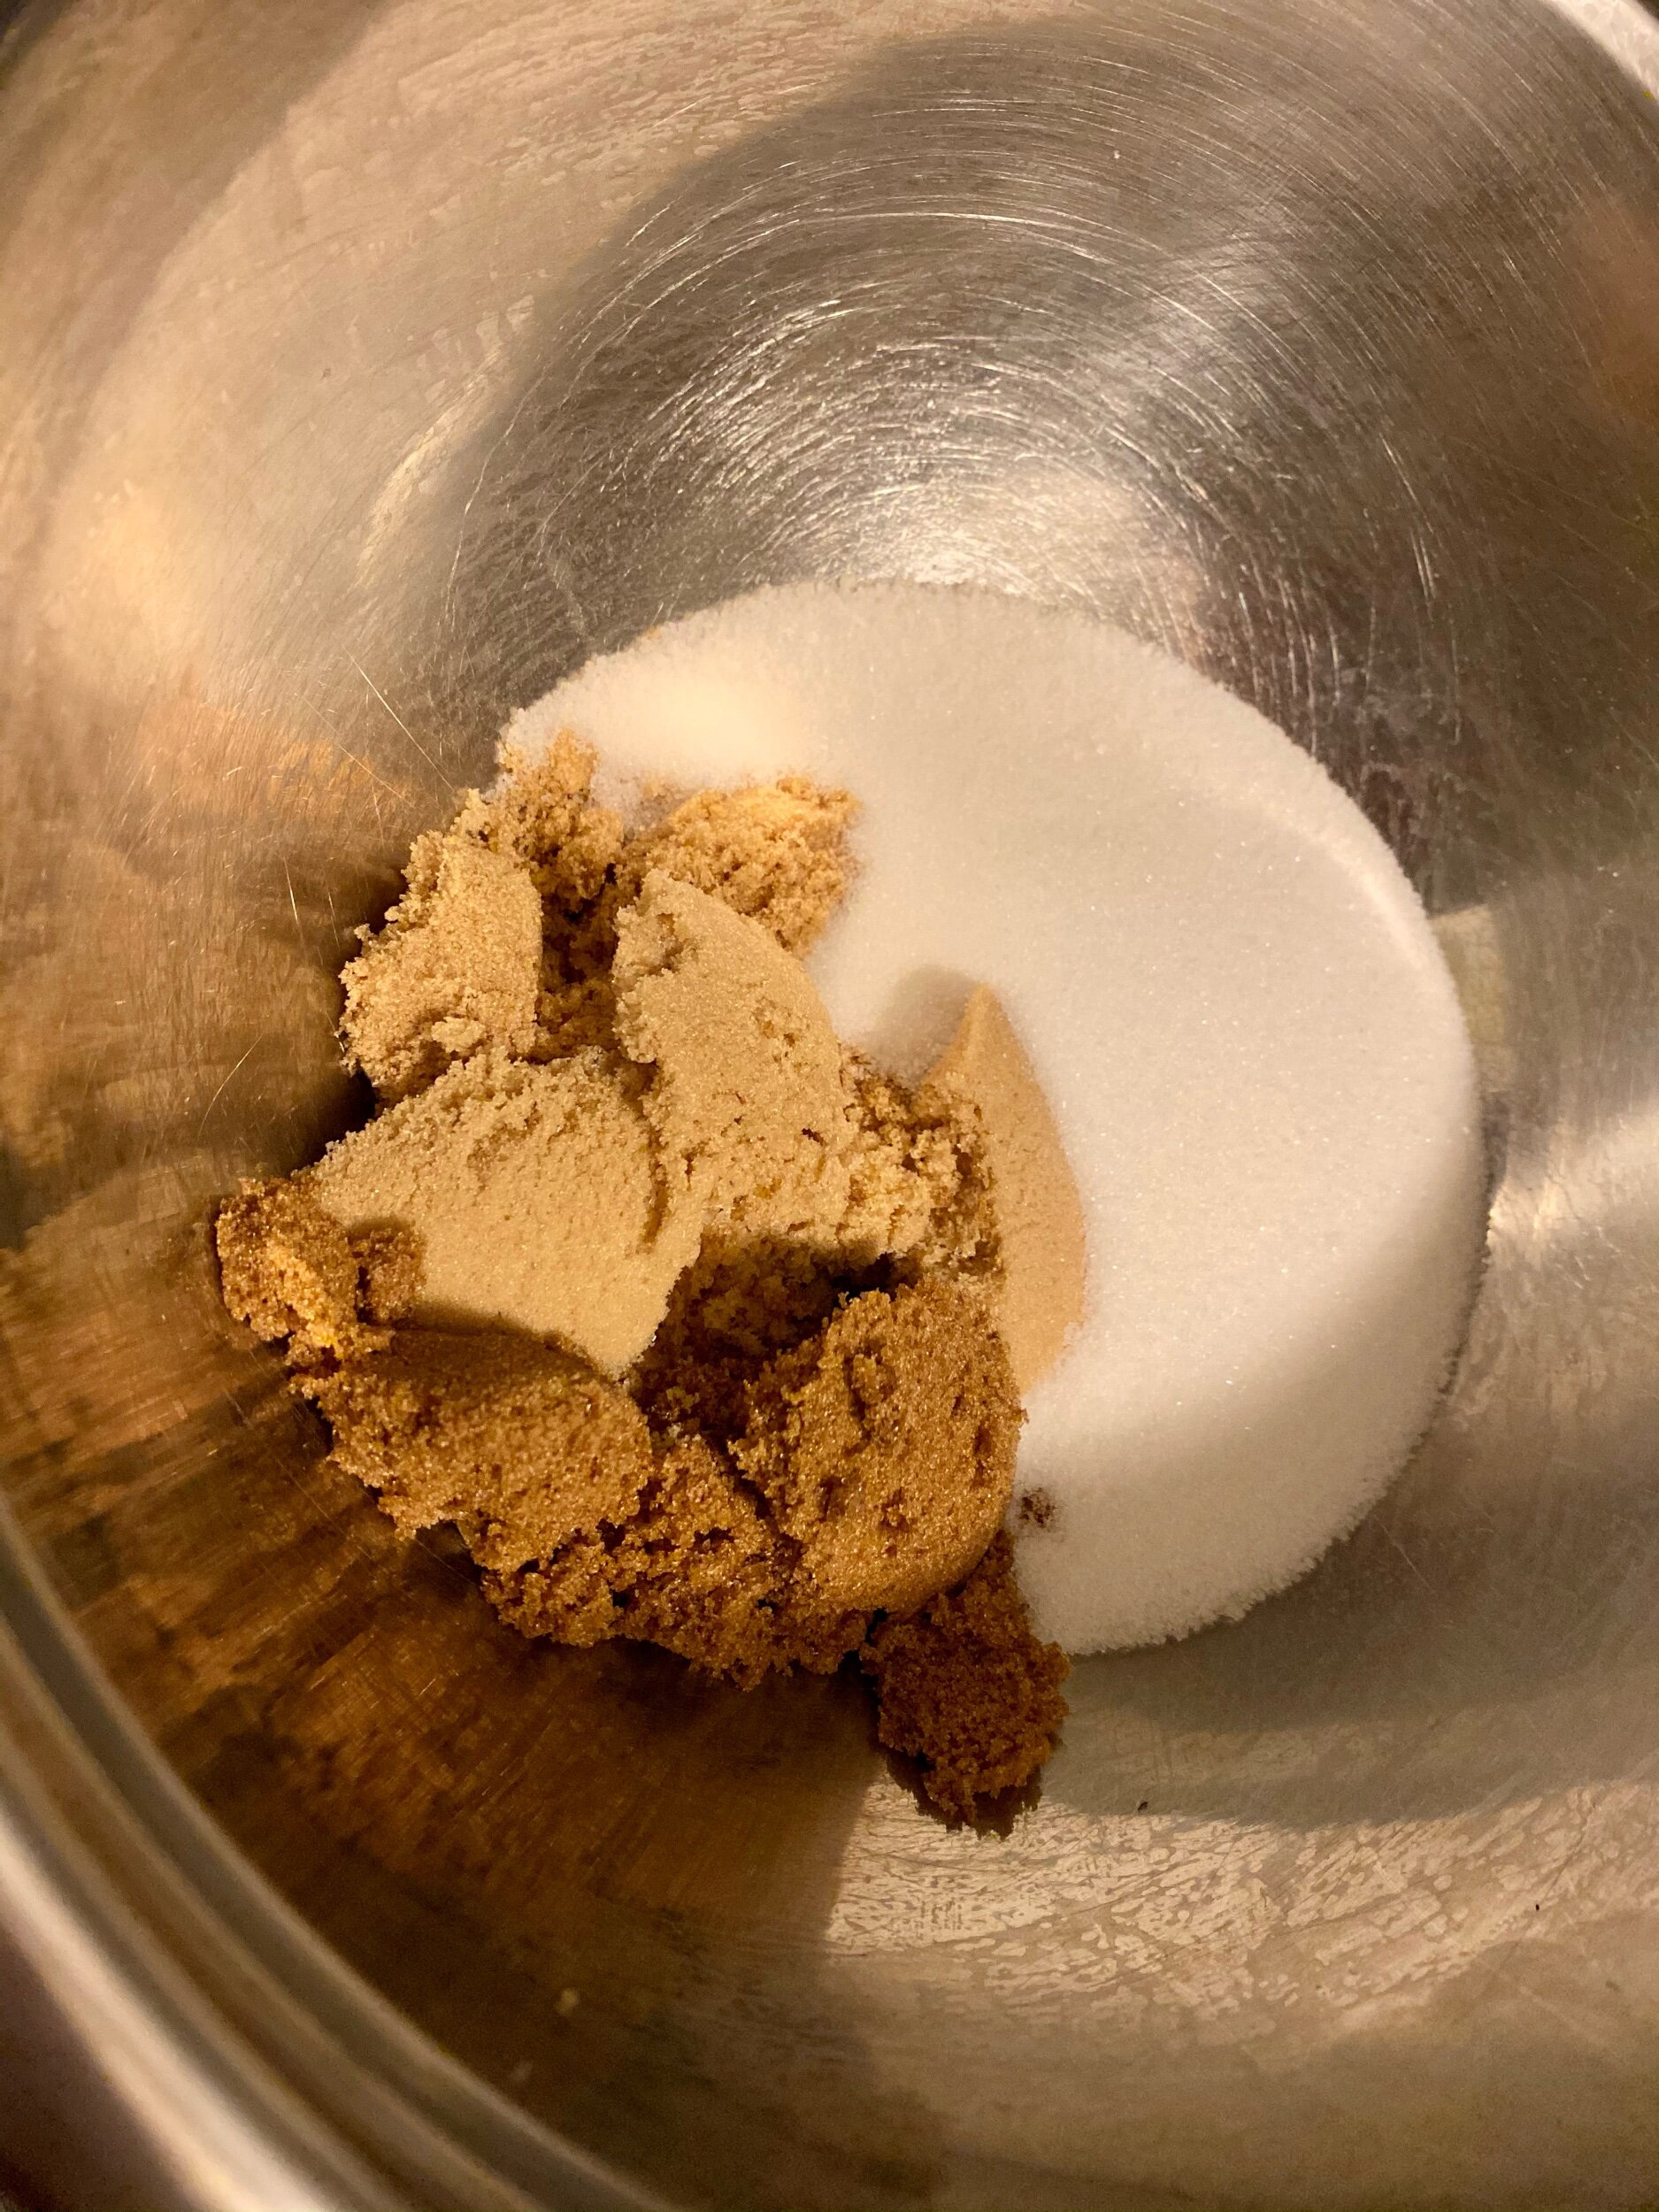
Add sugar to butter and cream together on medium for about 5-10 minutes until pale in colour and it’s smooth and creamy.

4.
I recommend doing half granulated sugar and half brown sugar. I like to do a mix of light and dark brown sugar but feel free to do all of one if you have a preference or it’s all you have in the house.
The brown sugar makes sure the cookies are soft and chewy. Dark brown sugar has more molasses than the light brown sugar so has a deeper, more intense flavour.
5.
Add eggs, one at a time, with the mixer on medium. Add vanilla and coconut extract and combine.
6.
Sieve flour, baking soda, baking powder and salt together and add to mixer in two batches. Mix on low until just combined.
7.
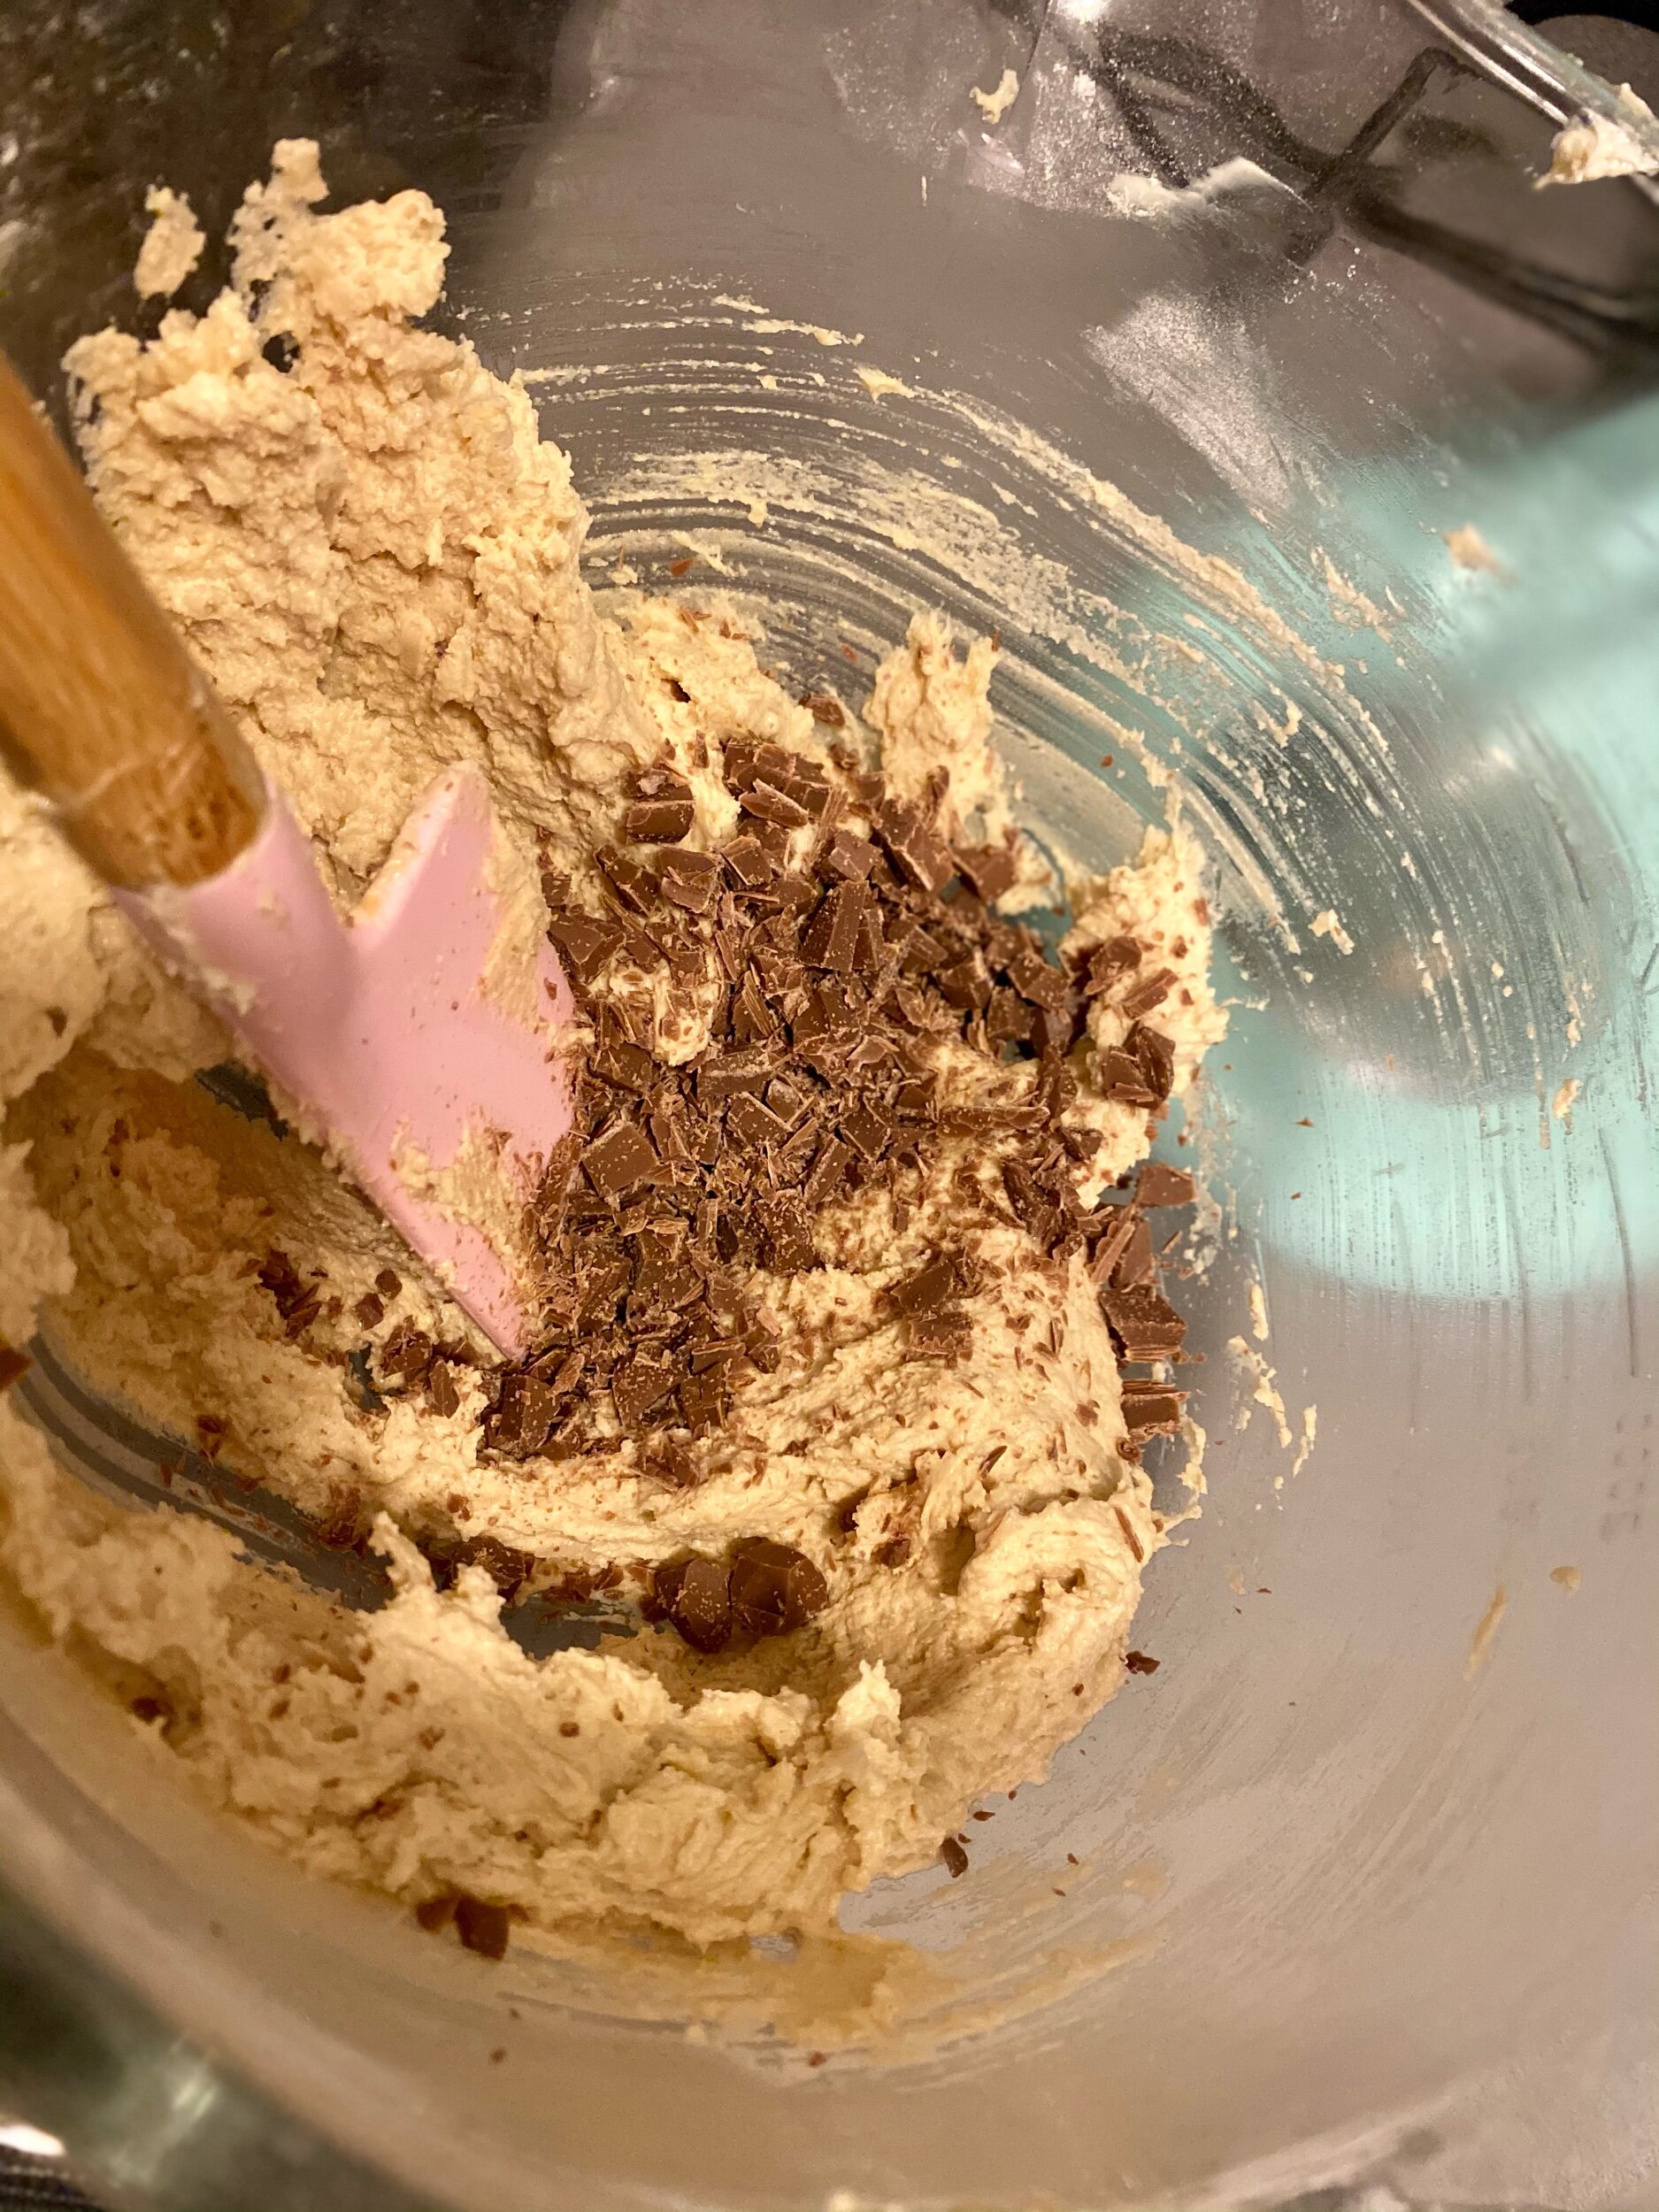
Add shredded coconut and mix through, be careful not to overmix.
8.
Chop up your choice of chocolate, as fine or as thick as your heart desires, and add to the bowl. Mix on low or just use a spatula to fold it through the mixture.
Cover the bowl with tinfoil or cling film and put in the fridge for 60-90 minutes.
9.
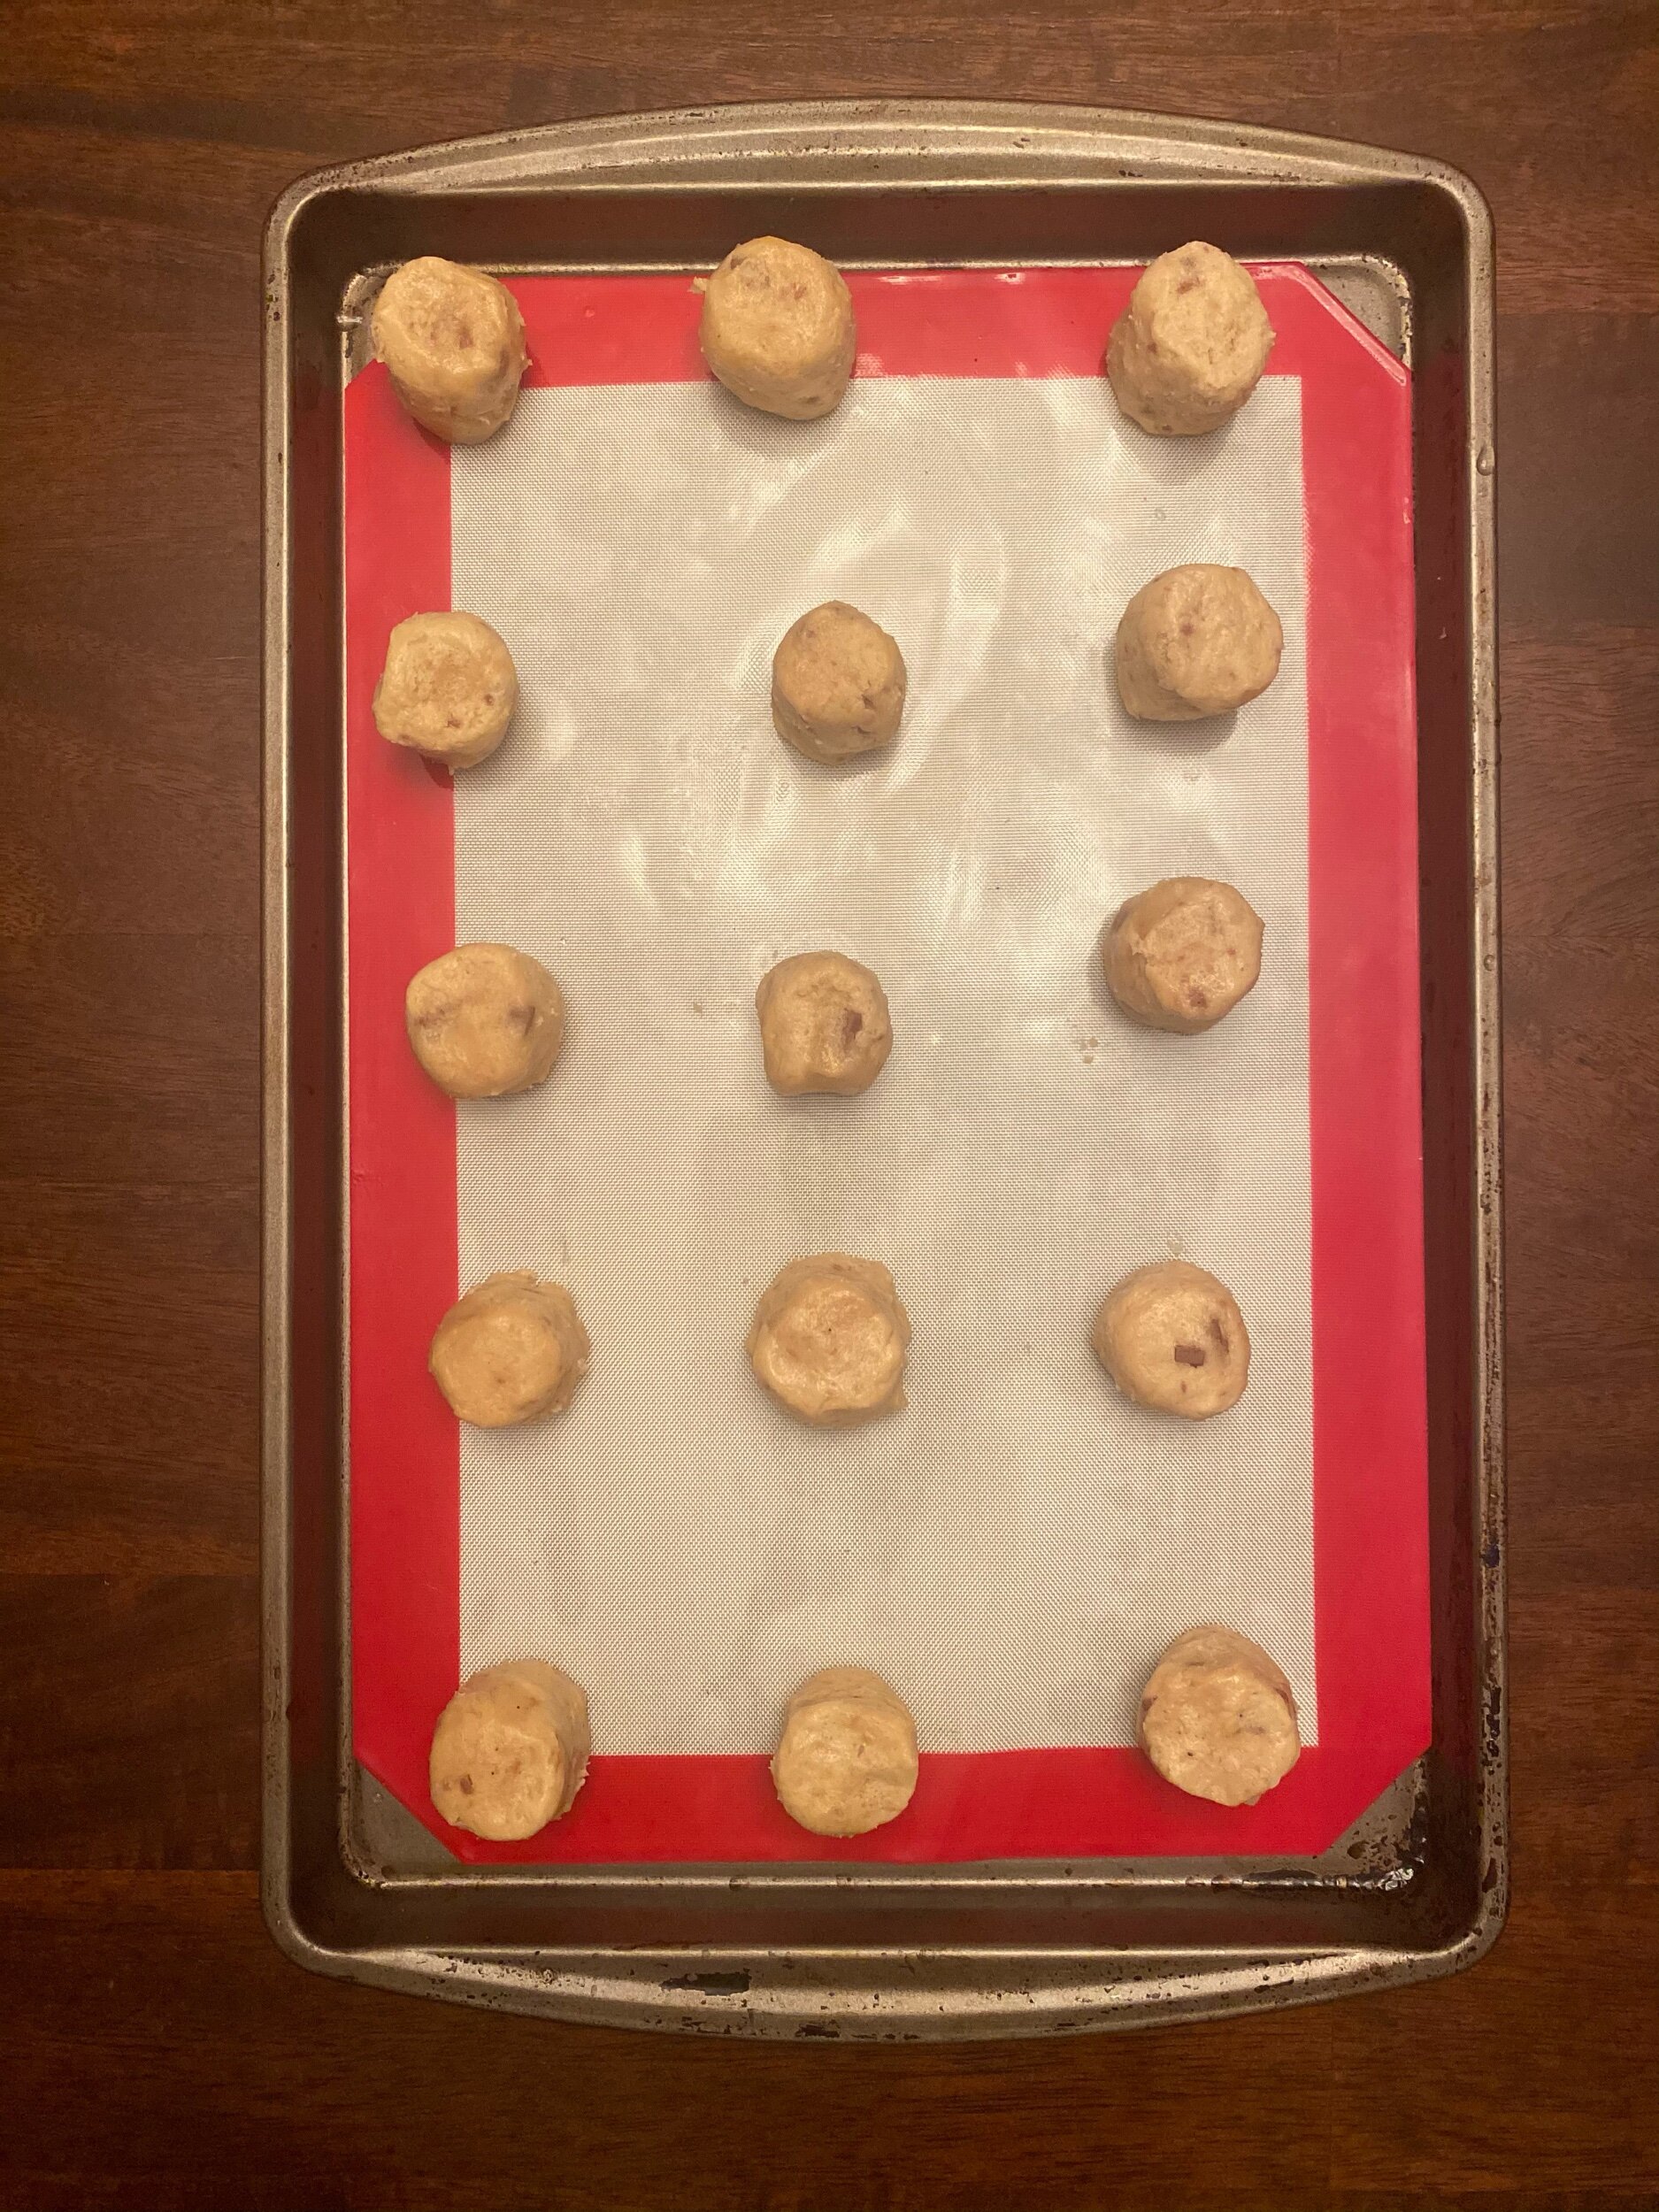
Use a tablespoon to scoop your dough into balls and roll into cylinders with your hands.

10.
Place them about two inches apart on your baking sheet, lined with a cookie sheet or parchment.
11.
Bake for 10-15 minutes, depending on your oven, until the corners are about to brown.
It also depends how soft or crunchy you like them.I like to take them out when they are just underdone so they're soft and chewy.
I’ve tried them at 10,12,13 and 15 minutes, 12 is my magic number. If you like a little more crunch leave them in an extra 2 minutes until they're browned a bit more on top.

12.
Leave them in the baking tray for 10 minutes before transfering them to a wire rack to cool, they'll continue to cook on the tray.
13.
You’ll have to do these in batches but that’s grand. I would recommend putting the uncooked batter in the fridge to keep it cool and firm, while it’s waiting it’s turn.
